2016 Rules
|
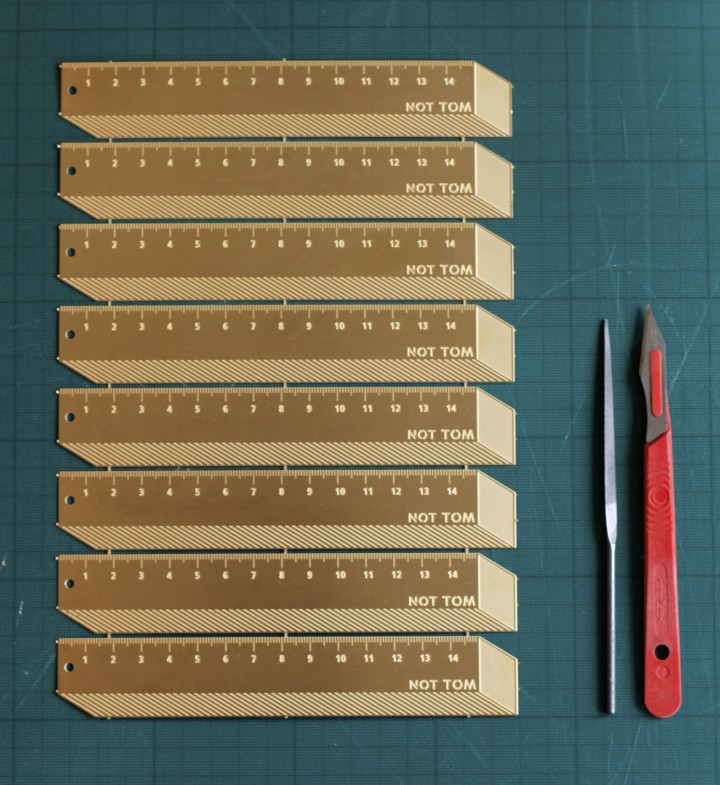
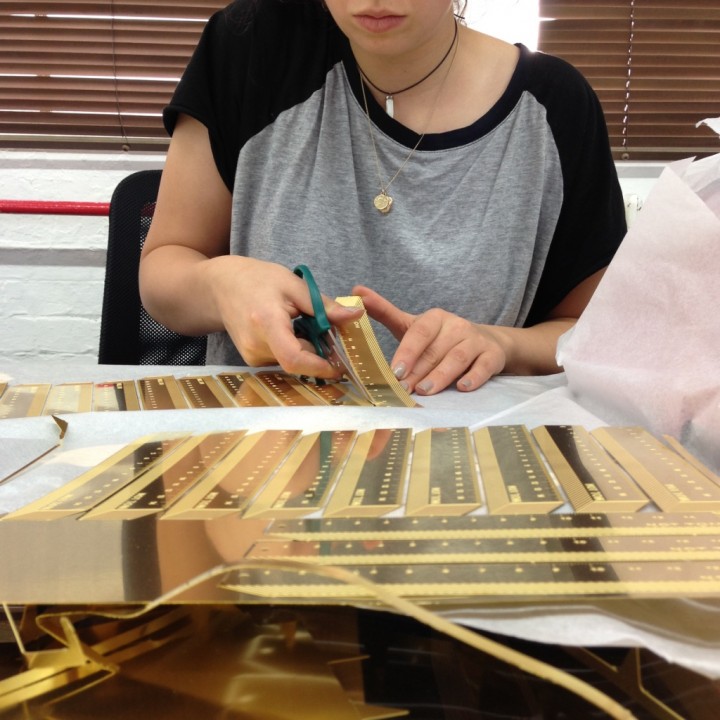
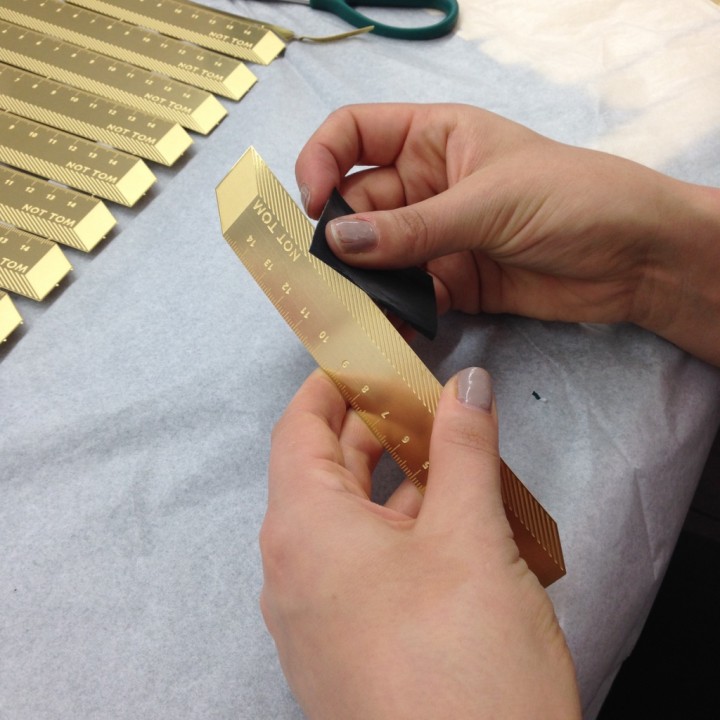
Not Tom wouldn’t be what it is without all our amazing clients, contractors and friends so we wanted to send out a gift to say a massive thank you. The past few years we’ve created some exciting Christmas cards (check out our Nativity Pencils), but this year we thought it would be nice to send out a new year gift to keep those January blues at bay. Once we were set on our ruler idea, then came the problem of how to make it our own. After drawing up a variety of designs we came up with the idea of making a 2D ruler with a 3D illusion. We design spaces, transforming ideas from paper into real life 3D things, so it made sense really. 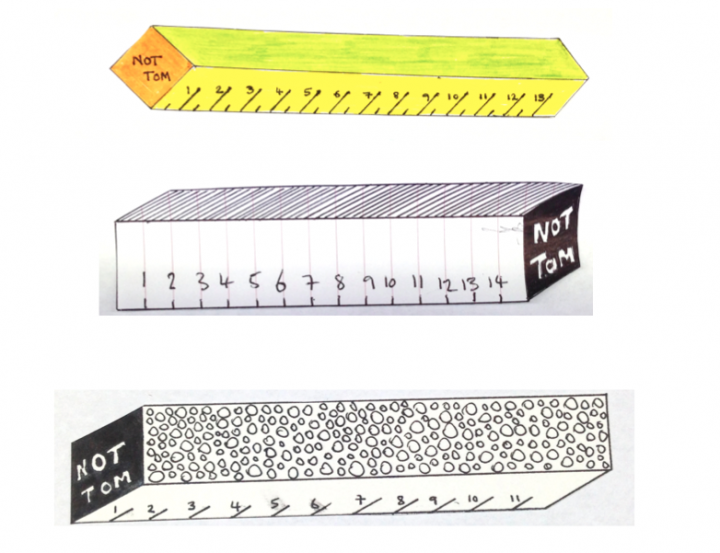 Image: Initial Design Drawings We toyed with idea of using wooden veneers to bring our design to life but in the end decided on etching the detail into brass, which has a lovely golden tone. After much debate about whether laser etching or chemical photo etching was better we settled on the photo etching process. Chemical etching is a much older process that uses chemical compounds to actually corrode the metal in selected areas. The process is more labour intensive than laser etching, but we felt that it achieved a crisper and more detailed etch for a finer finish. 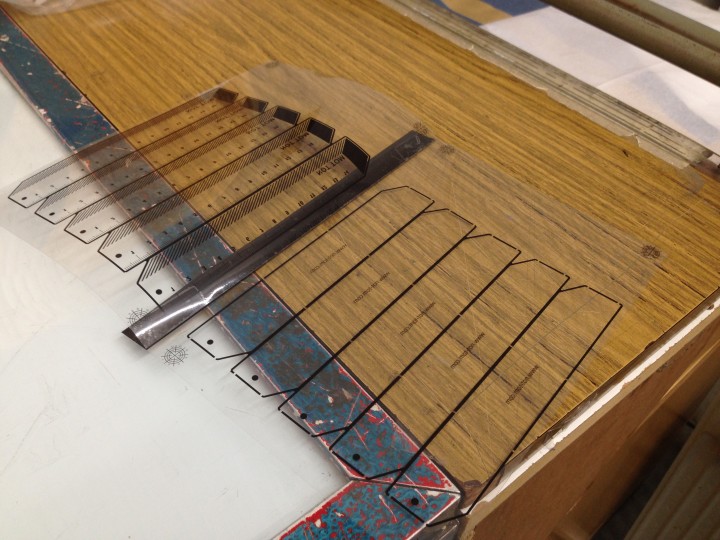 Image: Process 1 – creating the phototool film. A UV sensitive photoresist is applied which polymerises to protect the metal underneath from etching. 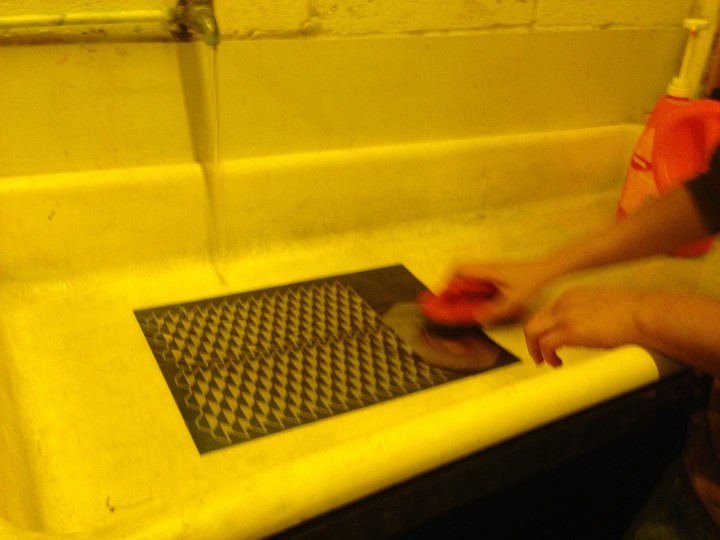 Image: Process 2 – transferring the image to the metal. Any metal now uncoated will be corroded to form the etch. 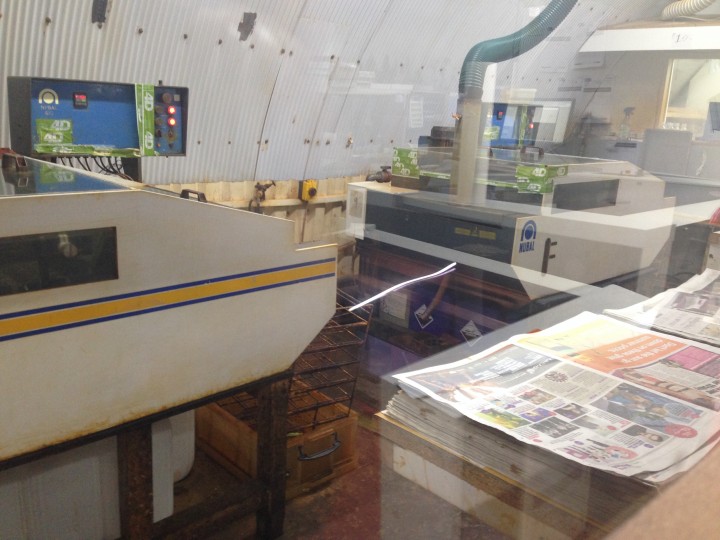 Image: Process 3 – the metal is placed in a chemical bath. The whole process must be tightly controlled to produce an accurate finish. Only once all steps of the process are complete can the work be cleaned and inspected for any mistakes. If the film has lifted slightly the chemical can leak and cause inaccuracies. Unfortunately, as you can see this is what happened to our sample batch. Thankfully the amazing people at 4D model shop persisted to ensure our final rulers were completed to a really high standard. 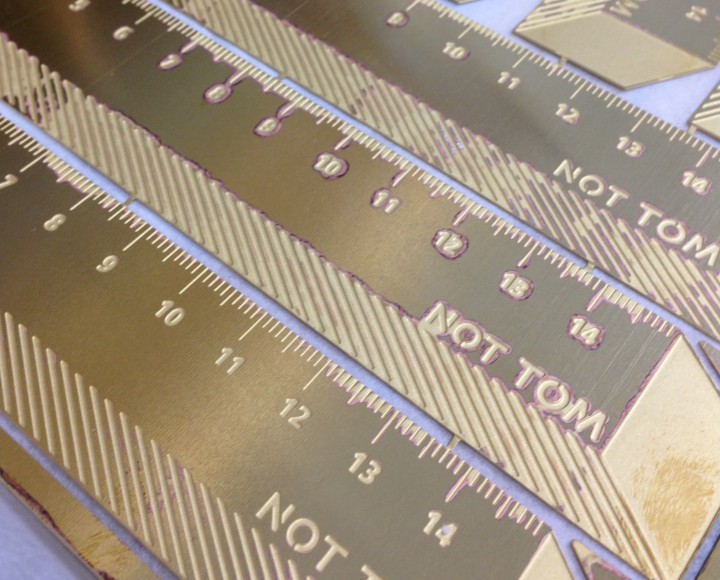 Image: When etching goes wrong. The film lifted which allowed the chemical to leak and corrode the metal incorrectly. 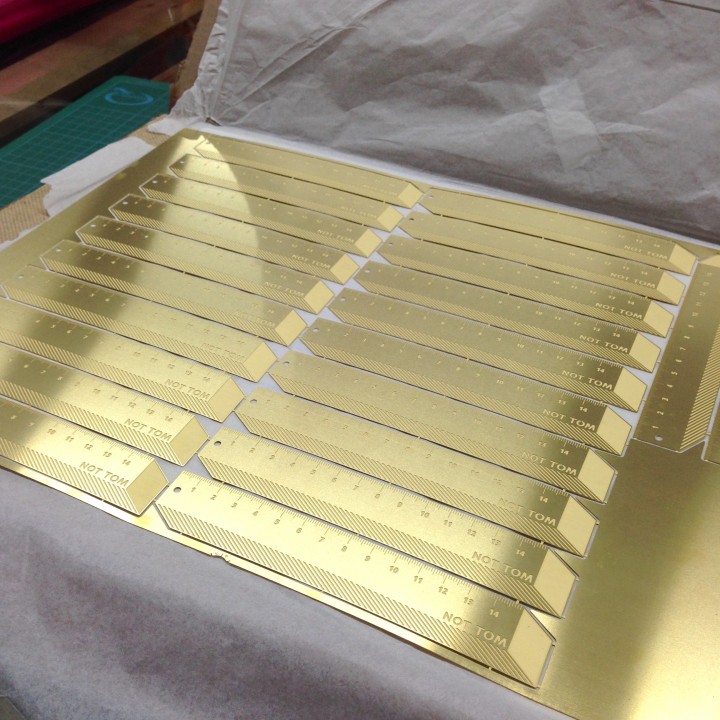 Image: When etching goes right. The finished rulers, etched perfectly and precisely. Very exciting! 4D modelshop had done their work, now it was back to us. We individually cut the rulers out of the brass sheet and sanded the edges to remove any nibs.
Last, but certainly not least, the packaging. After going to such lengths to create our rulers we knew that the packaging was going to have to be equally considered. Samples were ordered from near and far; envelopes, papers, stickers, glues. We scrutinised them all and selected the ones we felt were the best quality and up to the job. 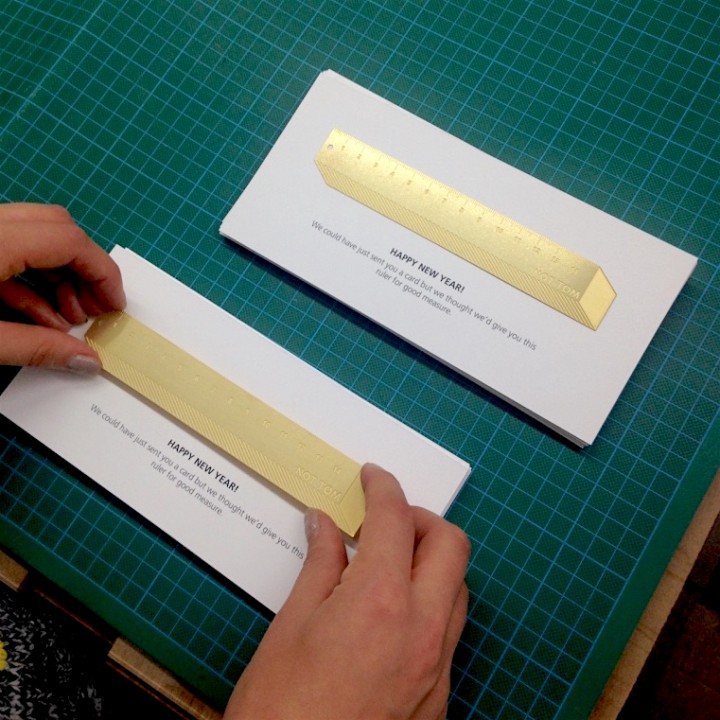 Image: We could have just sent you a card but we thought we’d give you this ruler for good measure. Well, it made us laugh anyway…! Our lovely thick, 650gsm Colorplan cards from GF Smith were supplied and printed by the wonderful people at Stampa, Brighton. We’re proud to have used all British manufacturers and suppliers to make this project happen. 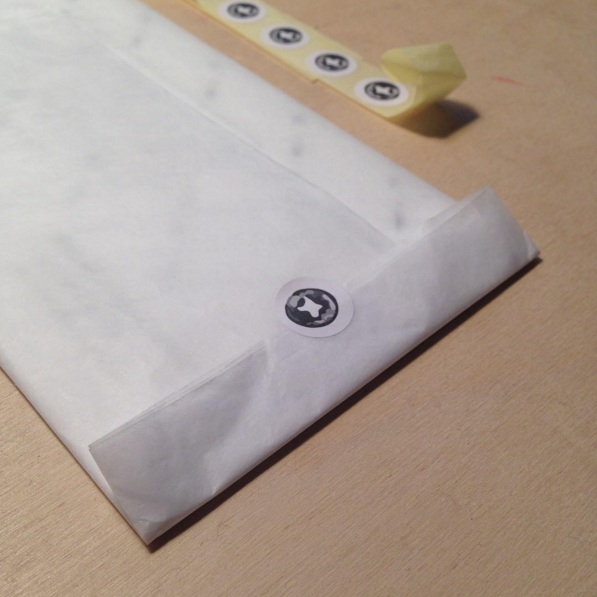 Image: It’s all in the details. We developed our screw-head sticker design by stamping screw heads in paint. So that was it, what better way to draw a line under 2015? |
